Deferred Payments
Trustly enables simple and secure direct bank payments by using a combination of User Interface components, established via the Trustly UI, and backend API calls.
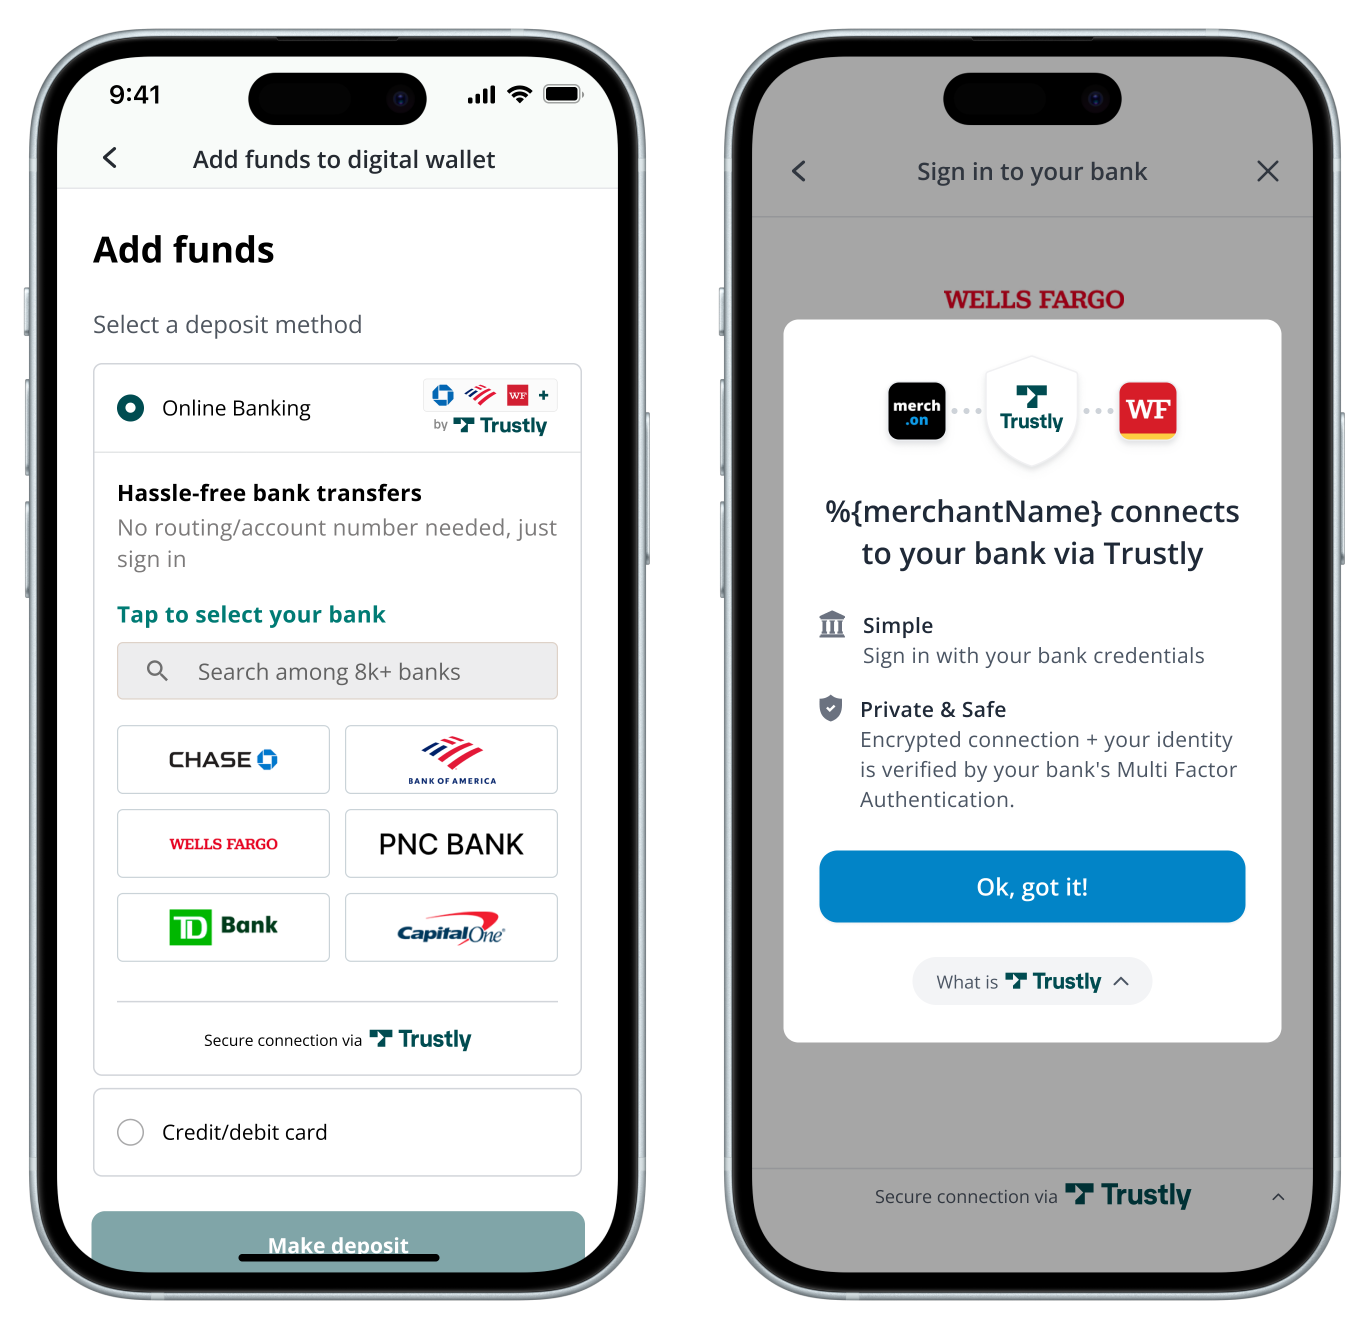
Trustly UI is fully responsive and is available for integration as a Javascript library as well as native mobile SDKs for iOS and Android. Two types of user experiences can be configured to fit your application. The primary method is to render the Select Bank Widget which allows users to quickly search for and select a bank to begin the authorization process. The secondary method is to launch the Lightbox directly from a button.
Trustly offers 3 SDK's to support the front-end user interactions. These SDKs support JavaScript, iOS, and Android. The SDK has 2 main methods: selectBankWidget and establish, which support different user interfaces (so you only need to implement one).
Conceptually, there are two major steps:
- Request a mandate from the consumer, allowing access to their bank account. This mandate is commonly referred to as an Authorization and is identified via a transactionId, and can thereafter be used for multiple payments.
- Perform the specific payment or payments against that mandate. These may include funds capture preauthorization, funds capture, and/or funds deposit (payout).
In addition, you can ask for user and bank account information so you can represent it to the user as necessary.
There are several flows of interest.
- Create a Bank Authorization using Online Banking. This step is initiated by calling the
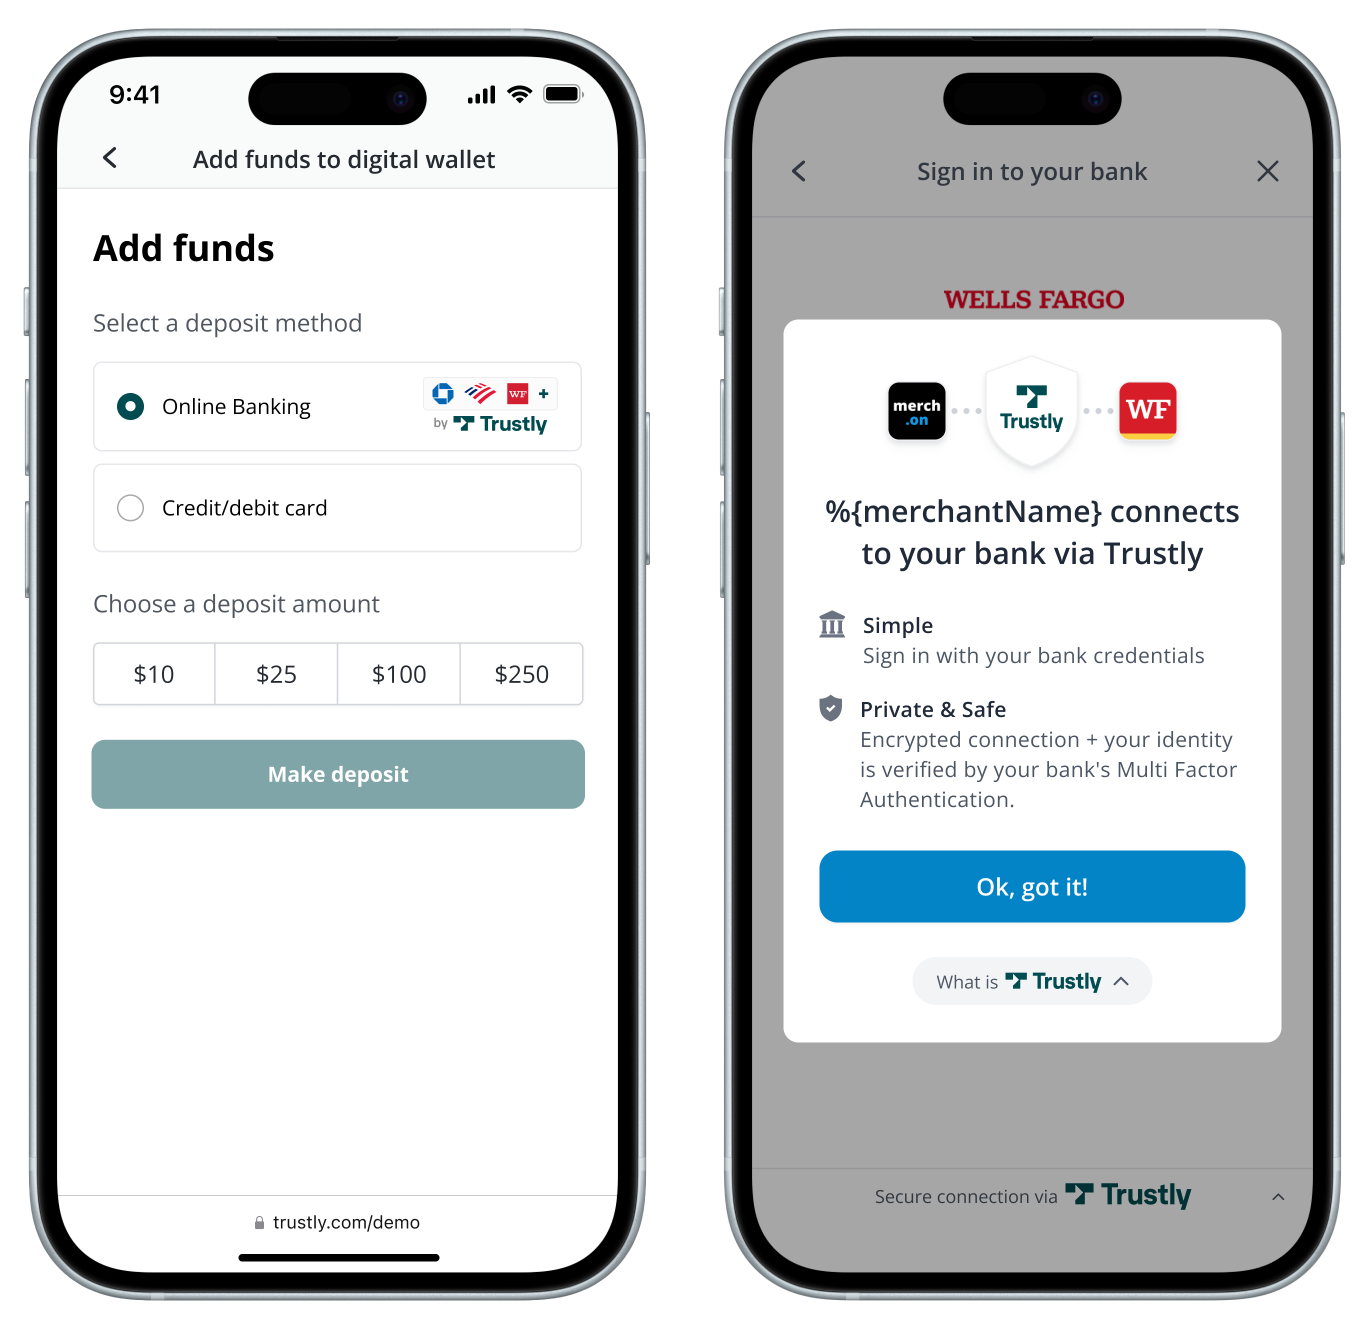
establishmethod of the SDK and launches the Trustly Online Banking interface which allows a User to authenticate with their Bank and authorizes you to use that bank for payment transactions. The successful call results in the mandate aka authorization represented by the returnedtransactionId. All subsequent API calls that result in the actual payment will be against thistransactionId. - Display Bank or User PII from Trustly. With a valid
transactionId, you can use the Trustly Get Transaction API and Get Financial Institution User API to retrieve information from the User's selected bank to display, verify, or pre-fill fields on your site or application. - Create a Transaction from the Bank Authorization. When the User requests to make a payment or requests a payment from you, you can use the Trustly Capture API or Deposit API, passing the previously obtained
transactionId,amount, and amerchantReferencethat will be passed back to you in any event notifications, allowing you to manage the context associated with the payment request. You can also optionally first perform a capture preauth request, which performs the risk analysis and funds availability for the indicated amount, so that you can perform the actual Capture later. - Handle Event Notifications. The payment transaction returns a PENDING or ERROR response. Implement Trustly Event Notifications to receive transaction status updates in real time and message your customers accordingly.
- Refresh a Bank Authorization using Online Banking. An authorization can become invalidated, for example, if the user cancels the mandate or it expires. If that happens, you'll want to send the User back to Online Banking to select a new Bank or refresh their Bank Authorization.
Integration Options and Branding Requirements
Trustly offers two types of user experiences for its Online Banking solution: Trustly Widget and Trustly Lightbox.
The Trustly Widget represents a bank-selection shortcut. It is shown in-line on your page and highlights the most popular bank while adding the capability to quickly search for a bank not expressly represented. Selecting one of the buttons on the Widget opens the Trustly Lightbox, where the User can sign in and authorize their account for use.

Alternatively, you can trigger the Trustly Lightbox using your own button. The Trustly Lightbox opens over your existing page in a mobile environment and presents a longer list of banks.

In addition to determining if the Select Bank Widget or opening the Trustly Lightbox directly is the best option for you, Trustly has a number of Branding Requirements to consider. If you have any questions or specific requirements, please work with your Trustly team or email [email protected].
<html>
  <head>
    <meta name="viewport" content="width=device-width, initial-scale=1" />
    <script>
      var TrustlyOptions = {
        closeButton: false,
        dragAndDrop: true,
        widgetContainerId: 'widget',
      };
    </script>
    <script src="https://sandbox.trustly.one/start/scripts/paywithmybank.js?accessId={accessId}"></script>
  </head>
  <body style="margin: 0;">
    <div id="widget"></div>
  </body>
   <script>
    var establishData = {
      accessId: {accessId},
      merchantId: {merchantId},
      merchantReference: {merchantReference},
      description: 'transaction description',
      currency: 'USD',
      amount: '0.00',
      paymentType: 'Deferred',
      customer: {
            name: 'John Smith',
            address:{
                    country: 'US'
                },
            },
      returnUrl: 'https://merchant.com/trustly.com/return',
      cancelUrl: 'https://merchant.com/trustly.com/cancel'
    };
    Trustly.selectBankWidget(establishData, TrustlyOptions);
  </script>
</html>
Updated 5 days ago